Tumbler blanks arrive in more surface types than almost any other blank on the market, and each one wants different numbers. This guide sorts the settings by coating and by machine, then walks the rotary setup from calipers to final wipe.
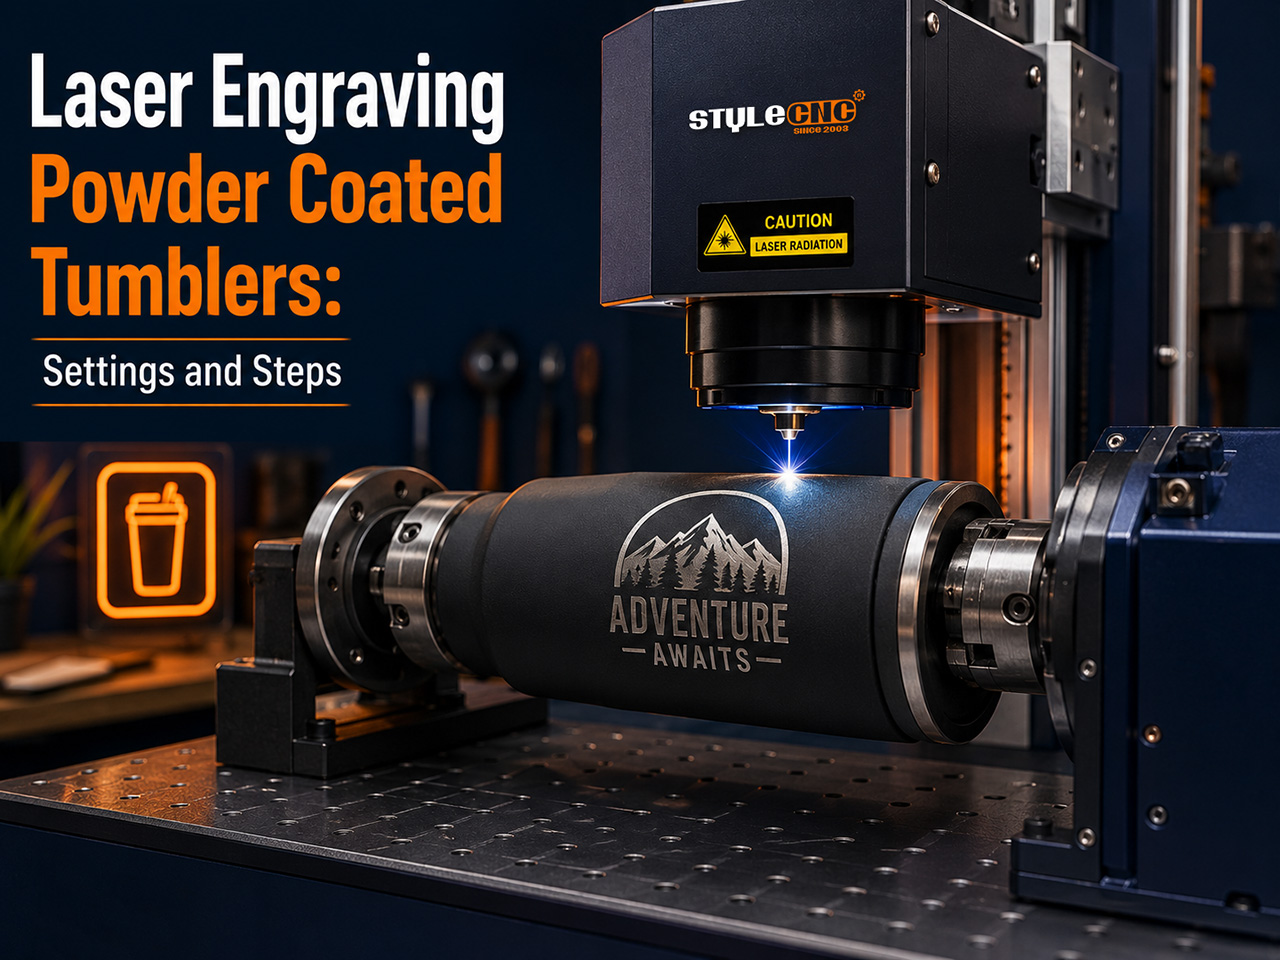
What Actually Happens to the Coating
The beam vaporizes a coating layer of roughly 60 to 120 microns and exposes the bright stainless beneath, so contrast comes free: coating color on top, silver below. Nothing is added, which is why these marks never peel.
Bare-steel marking is different physics. There the laser oxidizes the surface into a dark or colored film rather than removing anything, and the settings shift accordingly.
Both jobs run daily on the setup behind STYLECNC's engraved Yeti, Rambler, and tumbler solution, and the chart below keeps the 2 families apart.
Pick the Machine for the Surface
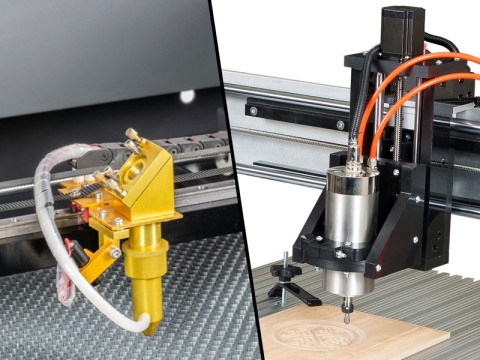
A fiber source is the all-rounder. It strips coatings fast, marks bare stainless without sprays, and pairs naturally with a chuck rotary, which is why máquinas de marcação a laser de fibra anchor most dedicated tumbler setups.
CO2 handles coated cups well and shares duty with wood and acrylic, though bare metal needs a marking compound first. Browse the wider gama de máquinas de gravação a laser when tumbler work shares a shop with flat jobs.
Diode machines can handle coated blanks on a budget at hobby pace. For full color on bare steel, only a Fonte de cor MOPA grows the oxide hues; standard fixed pulses cannot.
Settings Chart by Surface and Machine
The windows below assume a mounted rotary, focus on the apex of the curve, and factory coatings. Adjust upward only after a clean test on the base of the blank.
| Tipo de superfície | Laser de fibra 30W | CO2 Laser 60W | Laser de diodo 10W |
| Medição | Speed mm/s, power %, frequency kHz | Speed mm/s, power % | Speed mm/min, power % |
| Powder coat removal | 600-900 a 50-70%, 30-60 kHz, 1-2 passes | 300-400 at 20-35%, 1-2 passes | 3000-4500 em 60-80%, 1-2 passes |
| Epoxy or glitter coat | 400-600 em 60-80%, 20-40 kHz, 2-4 passes | 250-350 at 30-45%, 2-3 passes | 2500-3500 a 70-90%, 2-4 passes |
| Bare stainless dark mark | 300-500 a 40-60%, 40-60 kHz, single pass | É necessário um composto de marcação. | É necessário usar cola para marcar. |
| Full color on bare steel | MOPA source required, low speed grid | Não apropriado | Não apropriado |
| Sublimation polymer coat | Not recommended, coating melts | Not recommended, coating melts | Not recommended, coating melts |
Números-chave que vale a pena lembrar
• Common 20 oz blanks measure roughly 74 to 78 mm across, and a 1 mm diameter error visibly skews wrapped text.
• Powder coats run about 60 to 120 microns thick; the Powder Coating Institute documents the chemistry behind the common finishes.
• Glitter and epoxy layers sit several times thicker than standard powder and always need extra passes.
• On galvo systems, segments of 8 to 10 mm of arc keep the whole mark inside the focal window.
• 2 quick passes at higher speed leave a brighter reveal than one slow, hot pass.
Step by Step: From Blank to Finished Tumbler
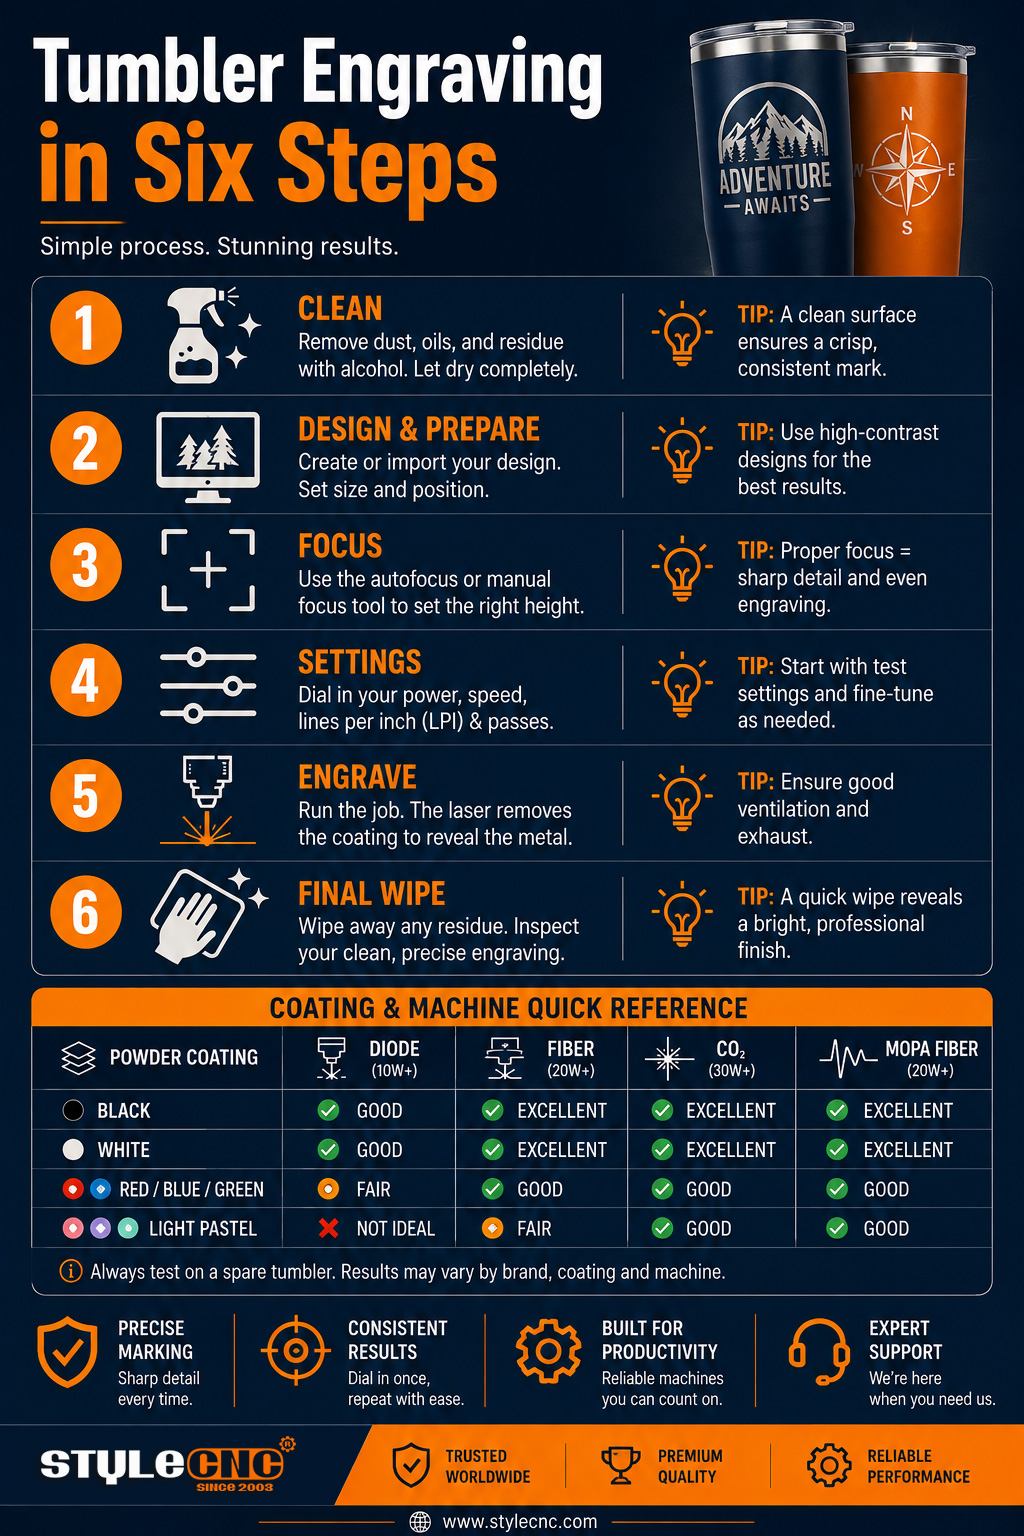
• Wipe the blank with isopropyl alcohol and handle it only by rim and base afterward; skin oils ghost into the reveal.
• Measure the diameter with calipers at the exact engraving zone and enter it in the rotary settings; never trust the listed size.
• Mount the cup in the chuck or on grip-taped rollers and level the axis; the rotary attachment walkthrough shows the chuck version end to end.
• Set focus on the apex line of the curve directly under the beam, not on the table.
• Frame the job, confirm the weld seam sits clear of the artwork, and run a light test on the base or a sacrificial blank.
• Engrave with extraction running through a Extrator de fumos para máquinas a laser, then wipe residue away with a fresh alcohol pass.
Curved polished steel throws the invisible fiber wavelength in unpredictable directions, so glasses rated for 1064 nm that meet Laser Institute of America guidance stay on for the whole job, and NIOSH exposure notes are worth a read before volumes climb.\
Perguntas que os operadores realmente fazem
Which machine should I buy if tumblers are the main product?
A fiber source with a chuck rotary covers coating removal, bare-steel marks, and production speed in one package. Choose CO2 only when coated cups share the machine with wood and acrylic work.
How long does one tumbler actually take?
A fiber logo runs 30 to 90 seconds once mounted. A full CO2 photo wrap can hold the machine for 10 to 20 minutes, so quote wraps and logos very differently.
Where do I set focus on a curved surface?
On the apex line directly under the beam, never on the table. The rotary brings each segment to that same height, so one careful focus serves the whole wrap.
Common Mistakes That Ruin Blanks
• Engraving a wide wrap in one pass instead of splitting it into arc segments.
• Guessing the diameter instead of measuring with calipers.
• Skipping the alcohol wipe and letting skin oils ghost into the reveal.
• Running epoxy glitter coats at standard powder coat settings.
• Letting the cup spin on bare rollers without grip tape or a stop.
• Crossing the weld seam with fine text.
• Using bare-metal settings on coated cups and scorching a halo.
• Ablating coating indoors with no extraction running.
Pre-Engraving Tumbler Checklist
✓ Wipe the blank with isopropyl alcohol and dry it fully.
✓ Measure the diameter with calipers and enter it in the rotary setup.
✓ Mount, level, and test-spin the tumbler before framing.
✓ Focus on the apex of the curve, not the table.
✓ Frame the job and confirm the seam sits outside the design.
✓ Run a light test pass on the base or a sacrificial blank.
✓ Keep extraction and rated eye protection on for the full job.
Perguntas frequentes
The questions below recur across maker and marking communities; answers are condensed for quick reference.
Why is the middle sharp but the sides blurry?
On a galvo machine, the beam only holds focus across a narrow strip of the curve. Split the artwork into segments of 8 to 10 mm of arc and let the rotary step between them, and every zone lands inside the focal window.
Roller rotary or chuck rotary for tumblers?
Chucks grip the rim and rotate with zero slip, which suits handles, tapers, and full wraps. Rollers are cheaper and faster to load but let light cups drift. If tumblers are your main product, the chuck pays for itself within a few ruined blanks.
How do I calibrate the rotation for a new cup size?
Engrave a rectangle of known h8 around the curve, then measure it with a flexible tape. If it comes out long, the entered diameter or steps value is high; scale it by the error ratio and rerun. 2 test cycles usually land within a fraction of a millimeter.
Why did the coating turn brown instead of coming off clean?
Brown halos mean the beam cooked the coating rather than vaporizing it. Raise speed or drop power, then add a 2nd light pass to lift what remains. Cool, quick passes leave bright silver; slow, hot ones bake color into the edges.
Can I engrave across the weld seam?
Better not to. The seam sits a hair proud of the surface, so fine text crossing it shows a visible break. Rotate the blank so the seam lands opposite the artwork, or hide it under a deliberate border element. Most shops flag the seam with tape before mounting.
Do I need to seal the exposed steel afterwards?
No. The reveal is stainless, which protects itself, and the surrounding coating is untouched. Wipe residue away with alcohol and the tumbler is ready for daily use. A clear coat only earns its keep on outdoor pieces that face salt or constant handling.
Why do straight lines come out wavy?
The cup is slipping or wobbling. Add grip tape to rollers, snug the chuck, check the axis is level, and slow the rotation between segments. A tailstock or foam support under long tumblers stops the free end from bouncing mid-job.
How do I handle tapered tumblers?
Shim or tilt the rotary so the engraving zone sits parallel to the beam path, keeping focus constant along the design. Chuck rotaries with an adjustable angle make this a one-knob job. Enter the diameter at the center of the artwork, not at the rim.
Are the fumes from burned coating dangerous?
Treat them as if they are. Ablated coatings release fine particulate and compounds you do not want indoors, so run a fume extractor or vent outside and keep the enclosure closed. Agencies such as NIOSH publish exposure guidance worth reading before production.